Greeting Cards 2022
Card Series:
- 2021 - maps and multilingual messages
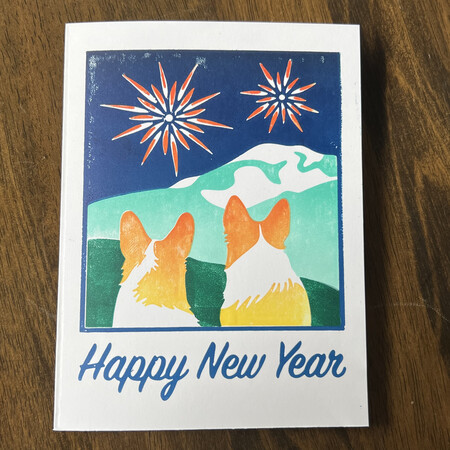
- 2022 - block printed corgis
- 2023 - corgi visual anagram illusions
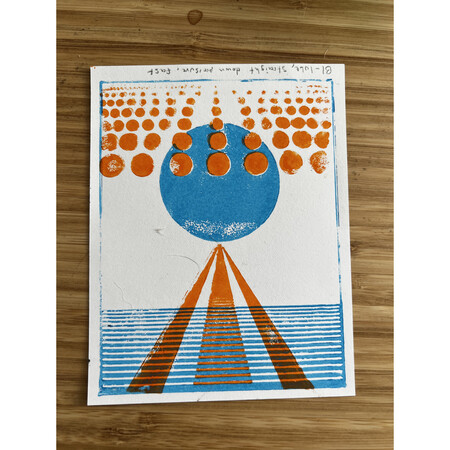
- 2024 - pixel art fireworks
- 2025 - talking corgi linocut
Initial thoughts
Last year’s cards made heavy use of the Axidraw drawing machine. This year, I wanted to try something different. It just so happens that The Partner got a 3D printer as a gift this year, so why not find a way to use it in the cards?
My first thought was to emboss the paper. I thought it would be really cool for the paper itself to be the art, but the plastic pieces weren’t strong enough and the type of paper we have didn’t take an impression very well. (It worked better when the paper was wet, but the paper didn’t dry very well.)
After a number of attempts, I thought I might be able to do some kind of stamp. The initial test looked pretty good.
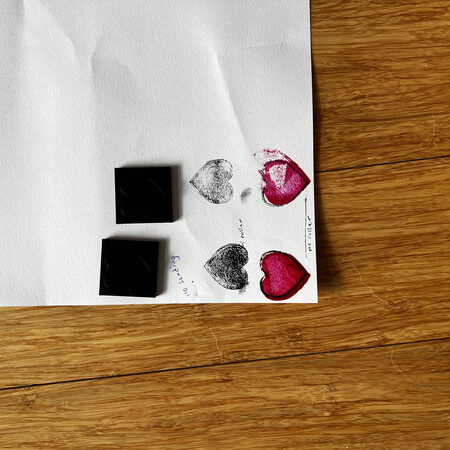
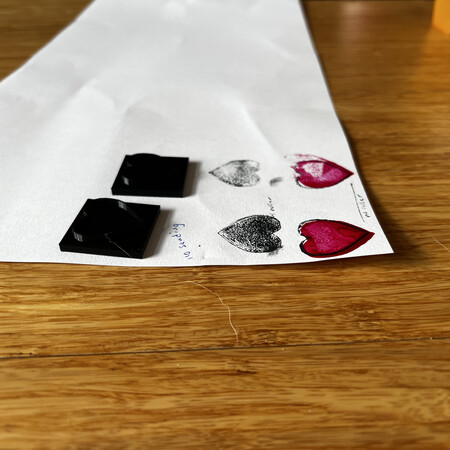

Those simple tests looked good enough to try something bigger which is when I started thinking a block print might work. I knew that I wouldn’t want just one color, so I made a simple design I could use to test two different colors. I use Tinkercad as my go to tool for designing things to 3D print. For these tests (and the final prints), I designed a 2D image in Affinity Designer, imported it into Tinkercad, and gave it some depth.
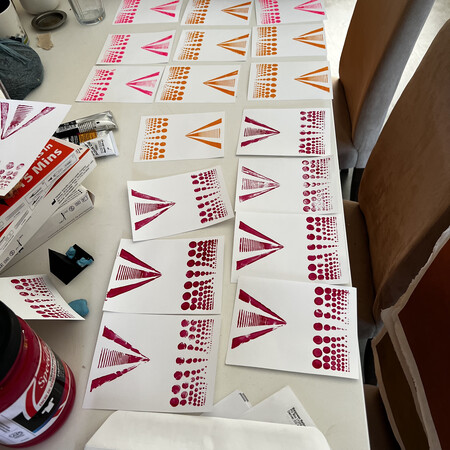
These looked good enough to me to go with this idea, but I needed to solve to problems: aligning the different plates and the quality of the transferred ink.
For these tests, I was simply rolling paint onto the plates, putting the paper onto the table, then putting the plate paint side down onto the paper. With that method, I had no way to align the paper. For my next tests, I wanted to experiment with a number of different inks and methods of pressing the paper onto the plate and I needed to find a way to align the cards perfectly every time.
An Alignment Problem
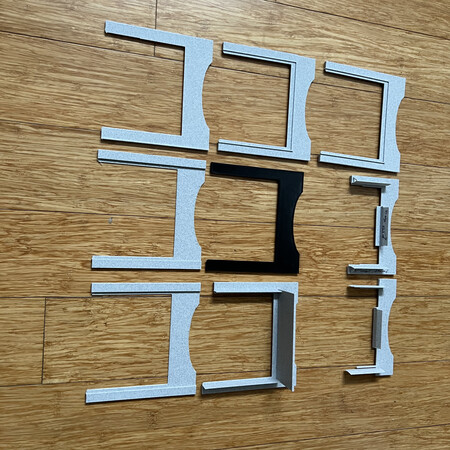
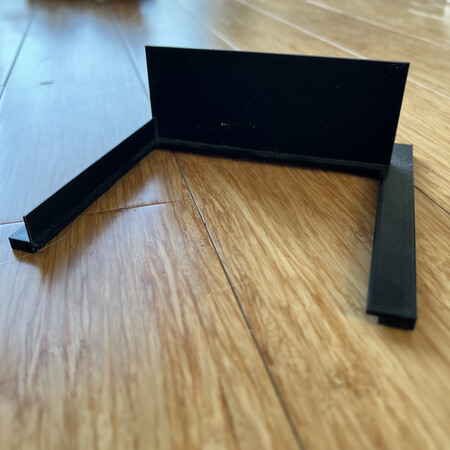
I only had one real idea on how to align the paper. I was going to 3D print a structure that would slide tightly onto the plate and have a kind of wall that could guide the paper into the same relative place on the plate. Though the basic idea stayed the same, I ended up making many, many, many different versions. The first few changes were making the paper guides the right size, then all of the rest of the changes were making it exactly the right size to hold the plates. View the initial and final designs in Tinkercad.
Images of fewer than half of the guides I made trying to get it just right:
Inks and the 2nd Test
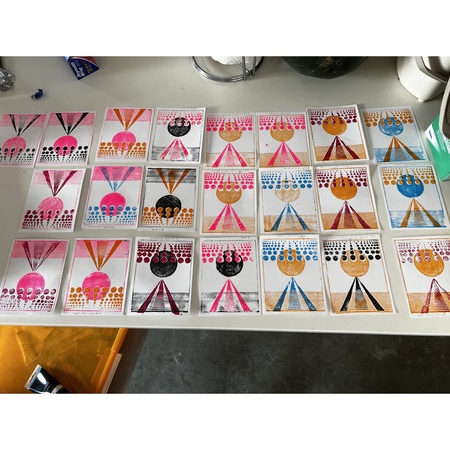
The next factor to experiment with was inks. For the initial tests, I used some old Speedball screen printing ink. I wanted to try out a variety of different inks (and combinations of ink) so I got a few small tubes of acrylic, oil, and water-based inks.
To test out these inks and the aligners, I made a new image and a new set of plates. For this image, I asked DALLE (a machine learning tool that can take a written description and make an image). After a few prompts along the lines of “a portrait of a corgi in a color woodblock print style” I got the following image.
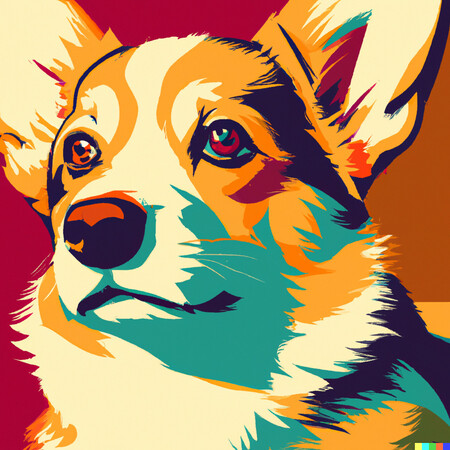
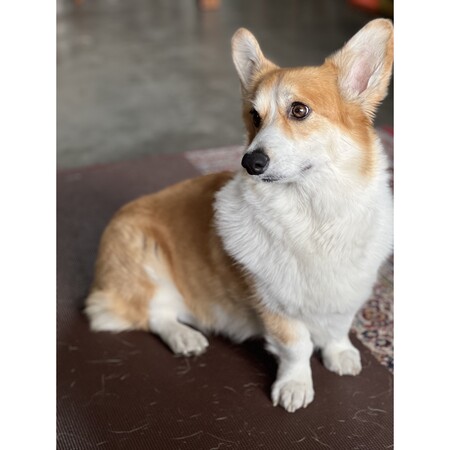
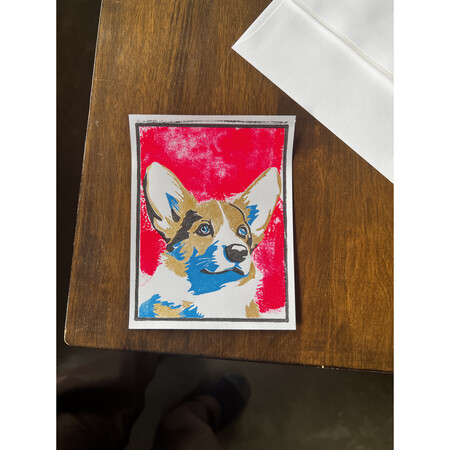
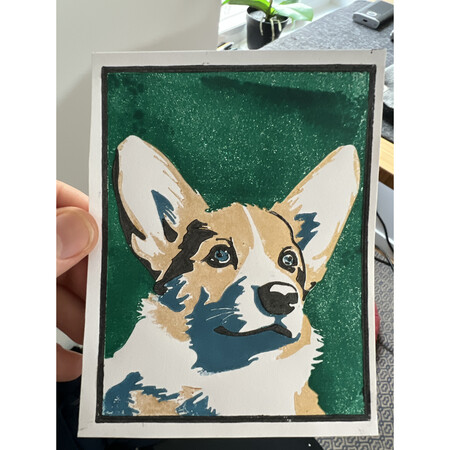
I took that photo, traced it digitally, and simplified it to only 4 colors and drew on some extra ears (using a model as inspiration) resulting in this image that could be split into 4 plates. One thing that is so very helpful about having a digital version is you can try a bunch of different color combinations.
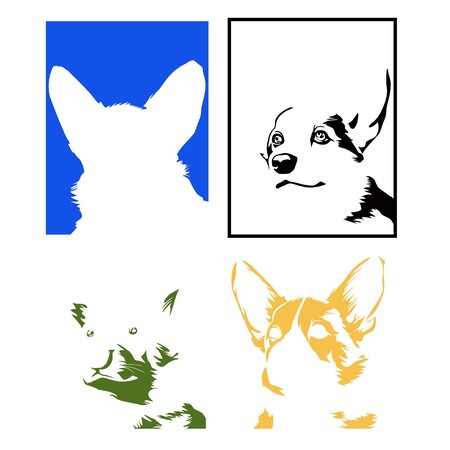
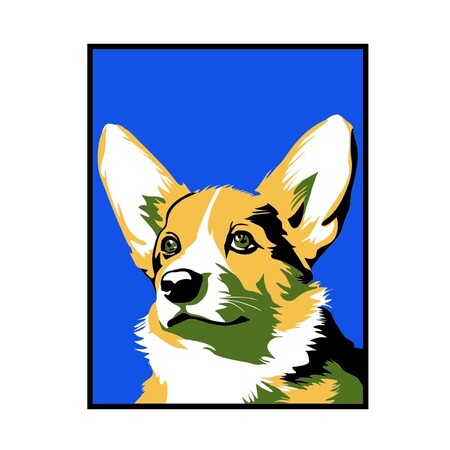
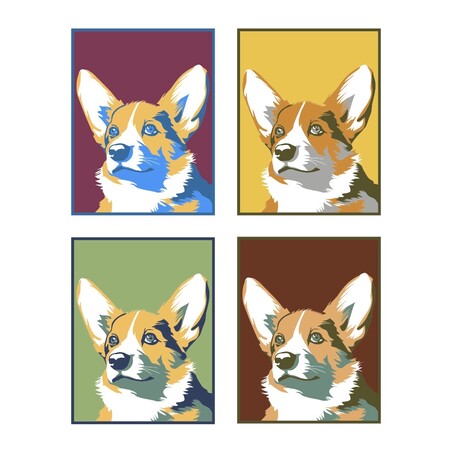
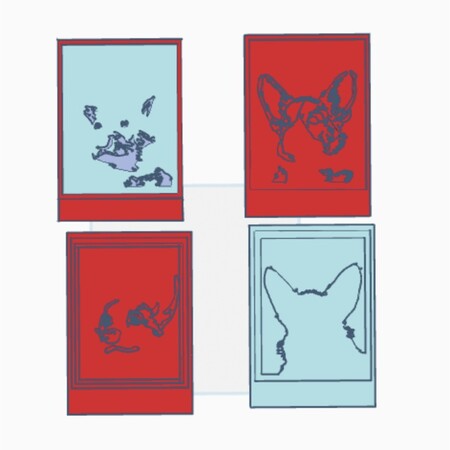
Importing those into Tinkercad (view in Tinkercad) and putting them onto the plate base gives designs that look like the following. Unfortunately, I did these tests a long time ago and can’t find the actual blocks:

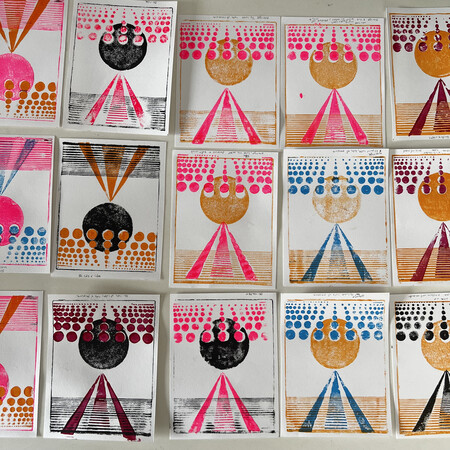
But printing them was not enough. Our 3D printer works by heating up a coil of plastic and partially melting layer after layer. This leaves a lot of holes and valleys in between each line of plastic. To get the best image, I needed to make my plates as smooth as possible. To do that, I dry and wet sanded each plate down to a grit of 2000.
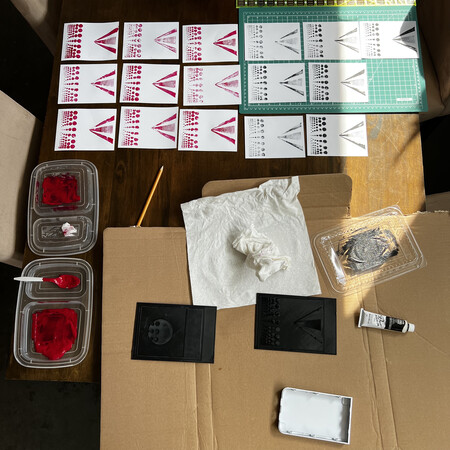
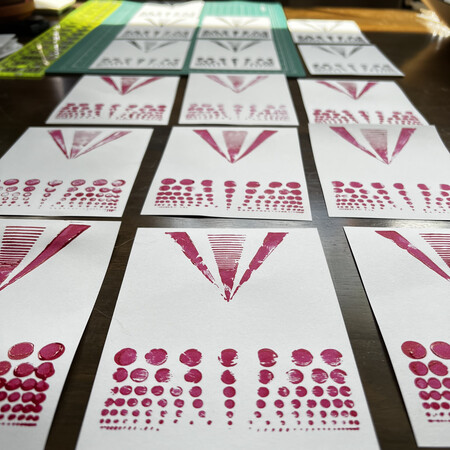
And here are some of the results:
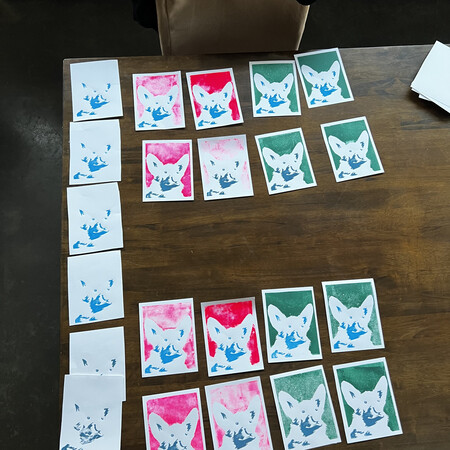
At some point during these tests, I realized the best way to get the ink to transfer into the paper was to apply a decent amount of pressure. Doing it by hand wasn’t enough and I didn’t want to make anything, so I found a linopress by Woodzilla and used that to great effect.
Supplies
After all that ink testing (and later some paper testing), we landed on the following supplies
- 100lb (270g/m^2) 12x18 inch Neenah Smooth Digital cover paper
- Cranfield Caligo safe wash (oil-based water soluble relief) inks
- Speedball soft rubber brayers (rollers for applying ink to the plates)
- Woodzilla lino press
- custom 3D printed print blocks (view in Tinkercad)
- custom 3D printed aligning tool (view in Tinkercad)
- custom 3D printed folding board (view in Tinkercad)
- A tool to score the cards with
- Zebra SARASA 0.5mm pens (for writing the cards and drawing art on the inside)
Making the Final Design
Given my lack of natural artistic ability, I asked DALLE to make me quite a few different images with woodblock and linocut styles. I have since lost the prompts used, but here is the image I liked the most:
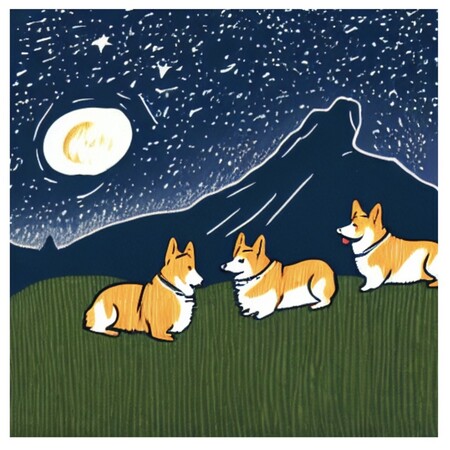
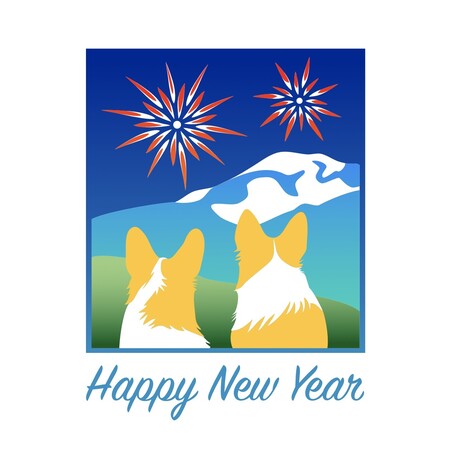
I attempted to do what I did with the corgi portrait by tracing the image, but it ended up not looking very good. In the end I gathered up all the artistic talent I could find and drew it myself (mostly tracing photos of our corgi and his sister). Here is the resulting image and the plates required to print it. View the 3d designs in Tinkercard.

These looked pretty flat to me. During one of the tests, however, I realized that as long as I had a large paint roller, I could put two colors onto the same plate or mix a color with a clear paint to make a gradient. With that in mind, I reworked the digital version to have some gradients. This is what I would aim for.
Then as one last step, I needed to try a few different kinds of paper to see which would take the ink best. I thought (based on nothing) a heavier cotton paper would absorb the inks best, but that ended up being the opposite of what happened.
We chose to go with a smooth and sturdy (but not SO sturdy) paper. Unfortunately, when it came time to actually purchase the paper, there was some sort of shortage and I was only able to buy a large quantity of it, so this will continue to be the paper used for our cards for the next few years.
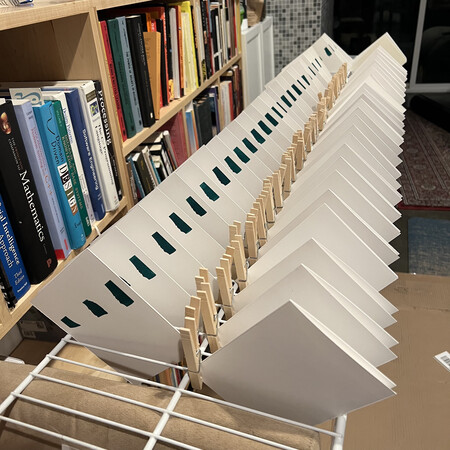
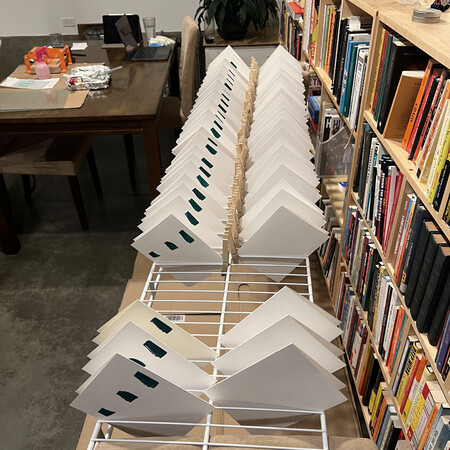
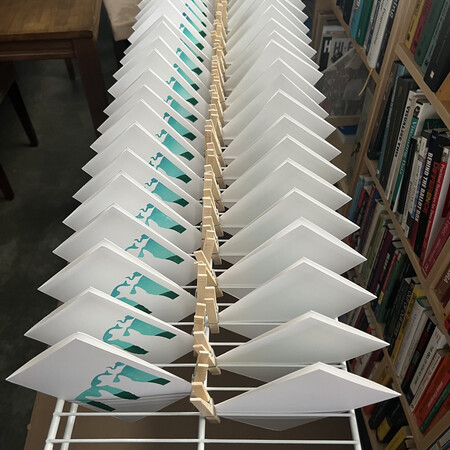
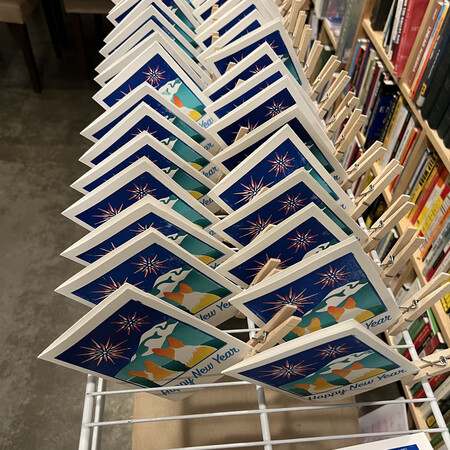
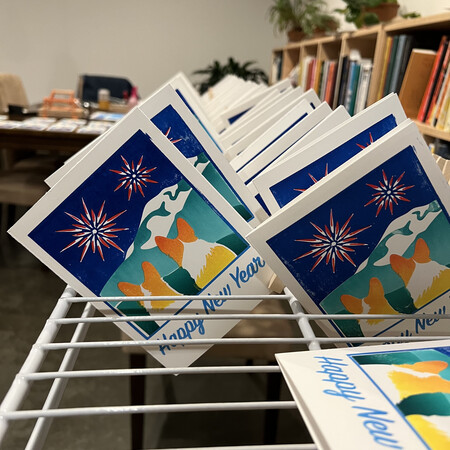
The Long, Long Production Process
I knew it wasn’t going to be fast or easy, but I didn’t know just how long it would take to make these. Overall we were able to rewatch all of the Lord of the Rings movies (extended editions) and several seasons of a few TV shows. It took about 2 hours to apply one plate to 50 cards (then one or more days of drying time depending on how thick the ink was).
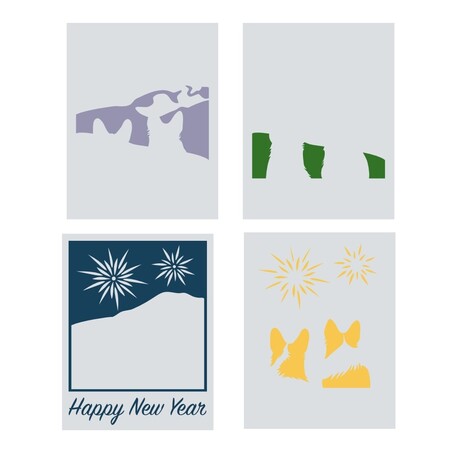
The card making process:
Plate 1: The field
Plates 1 and 2: The field and mountains
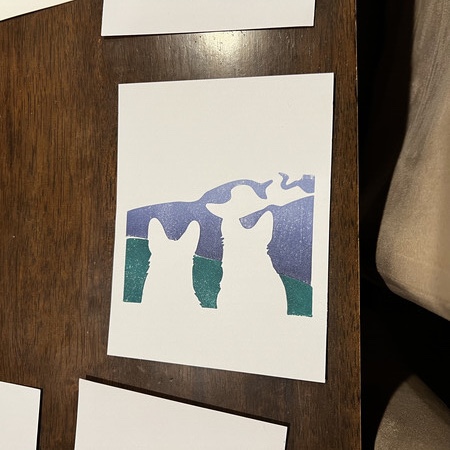
Plates 1, 2, and 3: The field, mountains, and corgis + fireworks
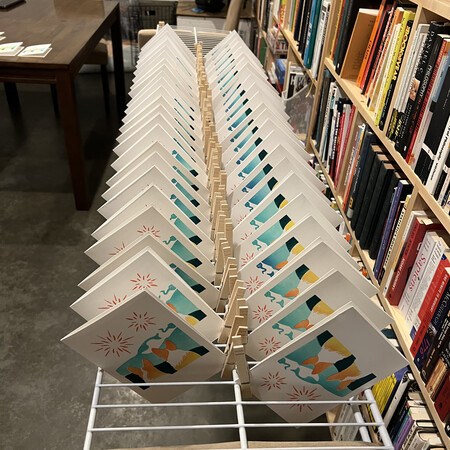
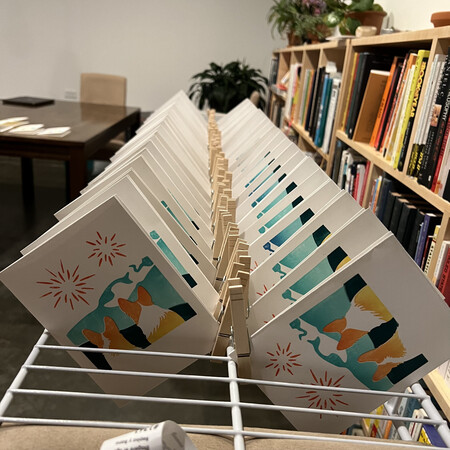
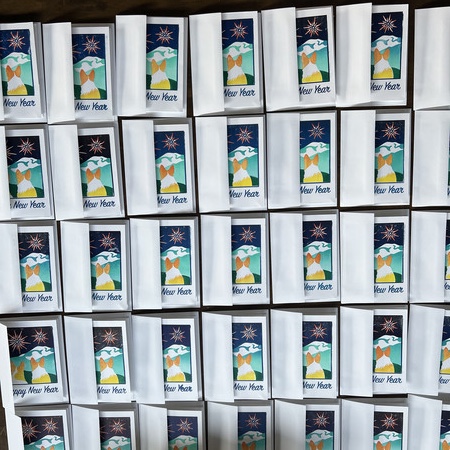
All 4 plates: The field, mountains, and corgis + fireworks, border + text
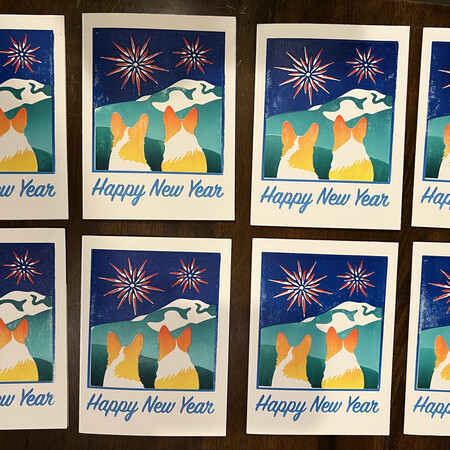

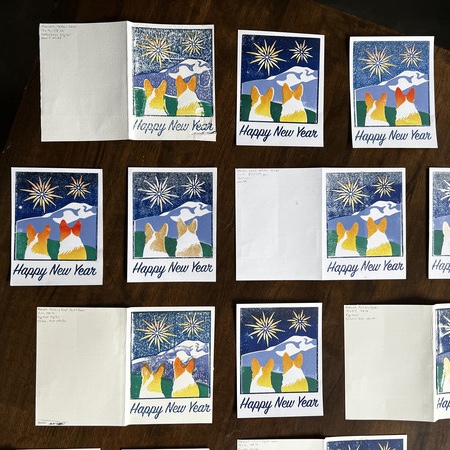
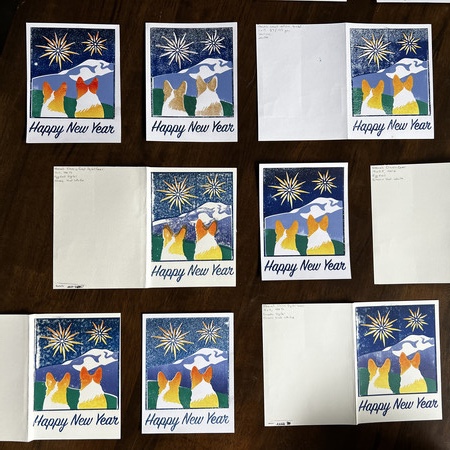
Cards and envelopes
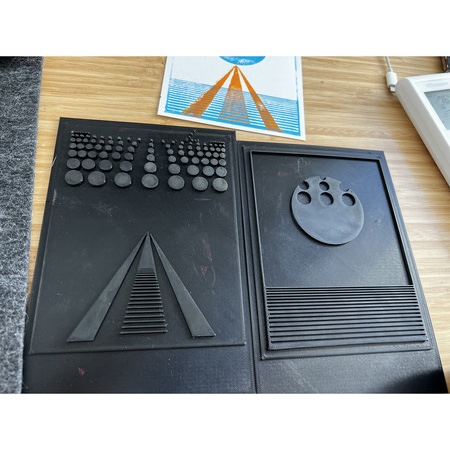
The plate 3D printing process:
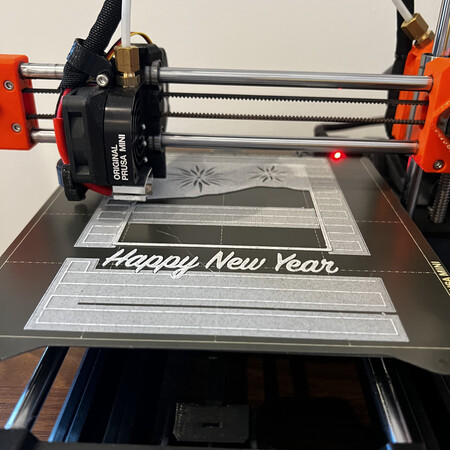
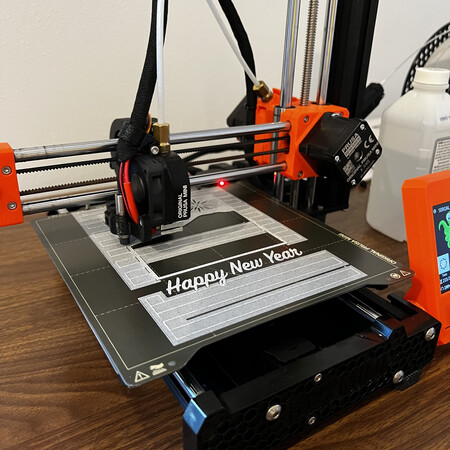
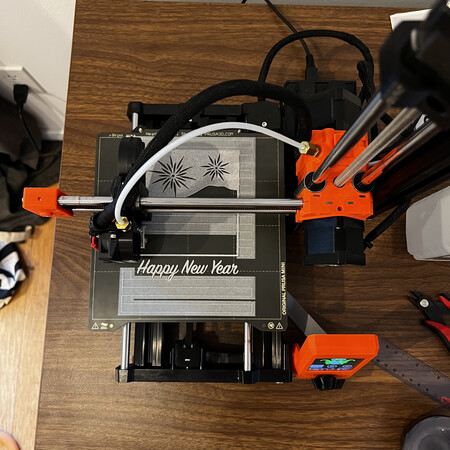
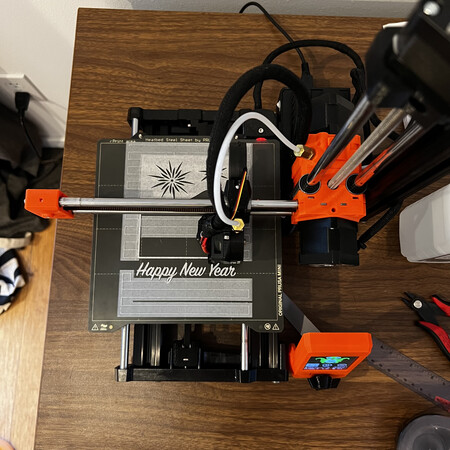
The plate shown in the images above (the one with the border and “Happy New Year” text) was the hardest to print because I wanted the text to be very clear. The artwork could have some texture to it, but I thought it really wouldn’t look great if you could read the words. To get this plate as smooth as possible, I ended up reprinting it upside down so the part of the paint I would apply the ink to was made directly on the print bed (and was therefore very smooth).
Lessons Learned for Next Year
Did I learn last year’s lessons?
The lessons allegedly learned last year were “Do tedious plotting first”, “Automate more of the process”, and “Batch manual work together”. The first and third I followed or avoided this year. I skipped most of the plotting by trading it for an exciting new process. And I did do a better job of batching work (and deciding to use faster, more modern printing methods for the letter and envelopes by using, you know, a printer).
Manual things take a long time
Unfortunately, that exciting new process I switched it to was the opposite of automation. This block printing was a very time intensive, manual process. I love the results and I’m really proud of the cards, but they were a lot of work. Better luck next year!
Experimenting Takes Time
In addition to the final product taking a lot of time, even just learning this new art method and tinkering with how to make it work well took a lot of time.
Inks Are Messy
As opposed to the ease and simplicity of putting a pen into a plotting machine and letting it draw on paper, printing with oil paints was so messy! There was so much prep and clean up work for printing every plate. Lots of scrubbing the tools and sink after each printing session, all extra time and effort.